How to Use Multiple Sharing Options in Microsoft Forms
Microsoft Forms is a convenient tool for professionals that would need to gather responses in an efficient manner. Through the multiple sharing options of MS Forms, users are able to disseminate and determine what method can work best for them.
How to Use Multiple Sharing Options in Microsoft Forms
There are three known sharing options in MS Forms that you can utilize how you see fit. The article below will display these different options so you can learn more about each one of them.
-
Step 1: Access Microsoft Forms
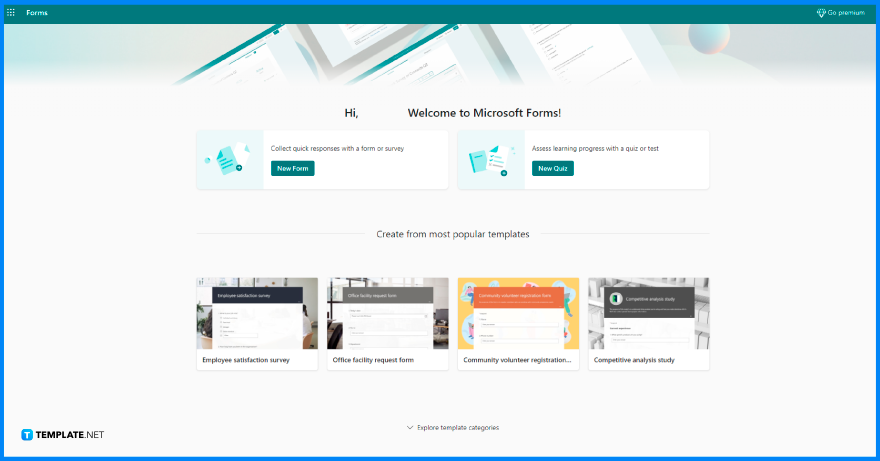
The first step that you will need to do is open Microsoft Forms, and since it is not available as local software, go to the website instead. Open your preferred browser then input https://forms.office.com to be brought to its homepage. Enter your school or work credentials and be brought to all the forms you have made before. -
Step 2: Open a Chosen Form
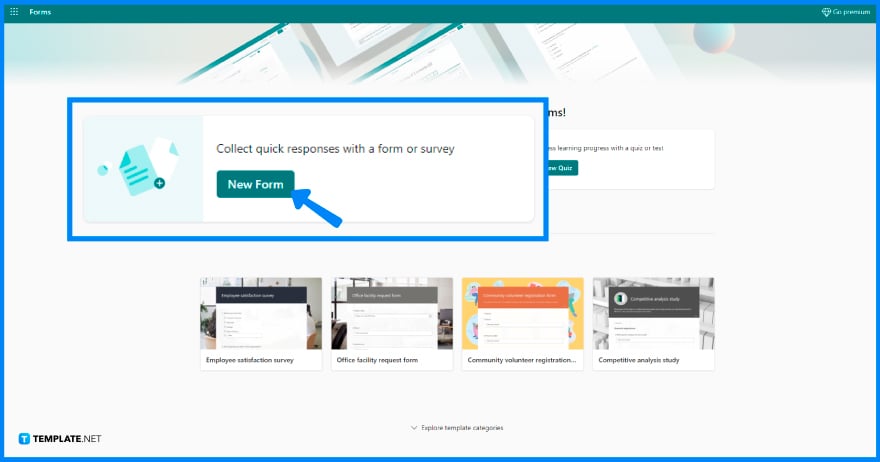
If you already have a pre-existing form, then you won’t need to start from scratch. Otherwise, if you do want to make a new form, click on the “New Form” button. Input your intended title, description, and questions. -
Step 3: Click “Share”

After you are done adding in the necessary information within the form, double-check whether or not you may want to add other significant details. If you are good to go, on the top right section, you can find buttons in a linear arrangement. Click on the “Share” button to open up a panel.
-
Step 4: Change Share Settings
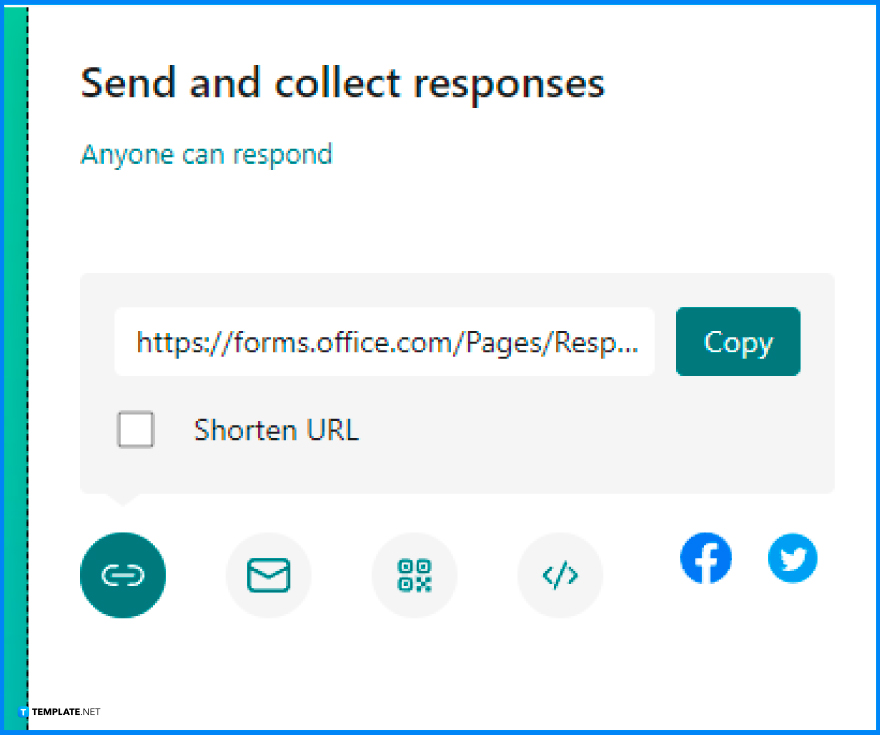
Under the “Send and collect responses” title is where you can change the settings on who will be able to receive and access your form. “Only people in my organization can respond” is seen as the default setting, so only people within your school or office are able to respond to the contents of your form. If you click on the arrow and the drop-down panel will allow you to click on “Anyone with the link can respond” which will allow a much larger number of responses to be received.

-
Step 5: Allow Duplication
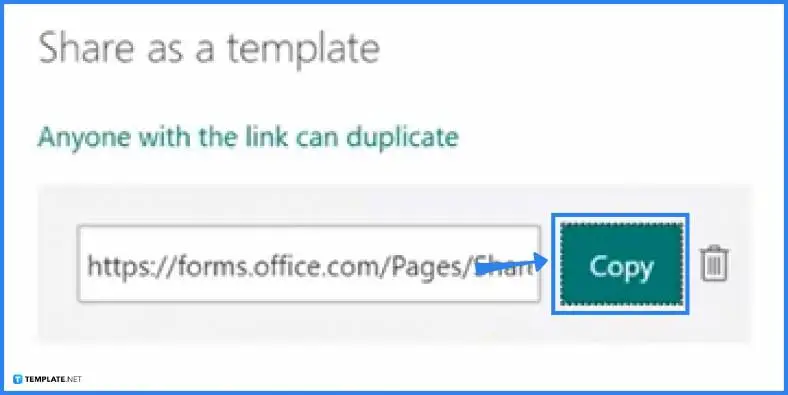
Underneath the “Send and collect responses” is the “Share as a template” section. This will allow you to distribute your form and allow others to create a duplicate of it. The title, description, and most of the questions will retain so the receiver can have a copy of it in their forms library.

-
Step 6: Allow Collaboration
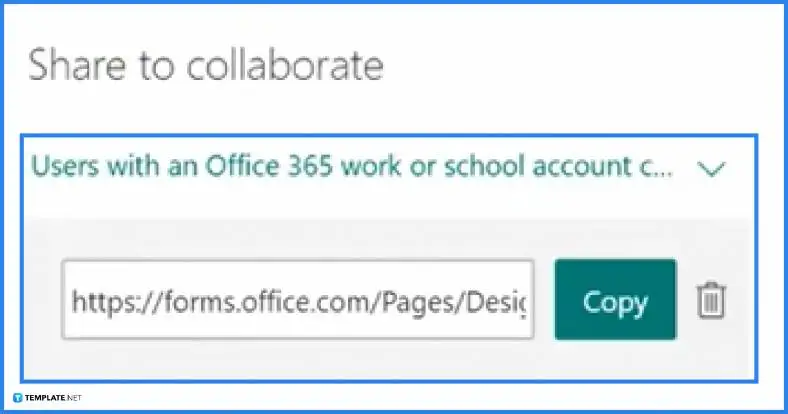
An option for you to allow others to work on the form with you is also available in MS Forms. At the end of the “Share” panel is the “Share to collaborate” section. There, you will find that the default setting is “Users with an Office 365 work or school account can view and edit” so users with a subscription can be co-authors of the form.
FAQs
Can Microsoft Forms allow multiple responses?
You can enable multiple answers per individual in the “Option” button of the form settings.
What is branching in Microsoft Forms?
You may add branching logic to a survey so that it varies based on replies to specific questions, and questions appear only if they pertain to someone’s condition in a survey that branches.
How can I make it so that anybody may react to a Microsoft form?
The first notable element is that you can make forms available to anyone outside of your business and without a Microsoft 365 account by clicking the “Share” button and adjusting the drop-down to “Anyone with the link can answer.”
How do you close a poll in a form?
Open the Form, then click the ellipses, then “Settings,” and uncheck the box next to Accept Responses where you can also supply a custom message for recipients to view when they click the survey link.
Do Microsoft Forms save automatically?
The form automatically saves, and a save indication in the top left corner indicates completion as long as there is a sturdy internet connection available to your device.

