How to Turn On Content Approval in SharePoint
Lists and libraries frequently contain confidential information, such as marketing campaign expenditures or efforts involving human resources, and should not be shared without permission. It is sometimes critical to ensure that only the “official” version of a document or item is accessible to a particular user.
How to Turn On Content Approval in SharePoint
You have the option of requiring approval of a particular item or file before making its contents public to a subset of users. When organizations demand clearance first, they are able to apply a significant level of quality and security to the sensitive content they produce. The following steps need to be taken in order to activate and configure content approval:
-
Step 1: Select the Versioning settings link.
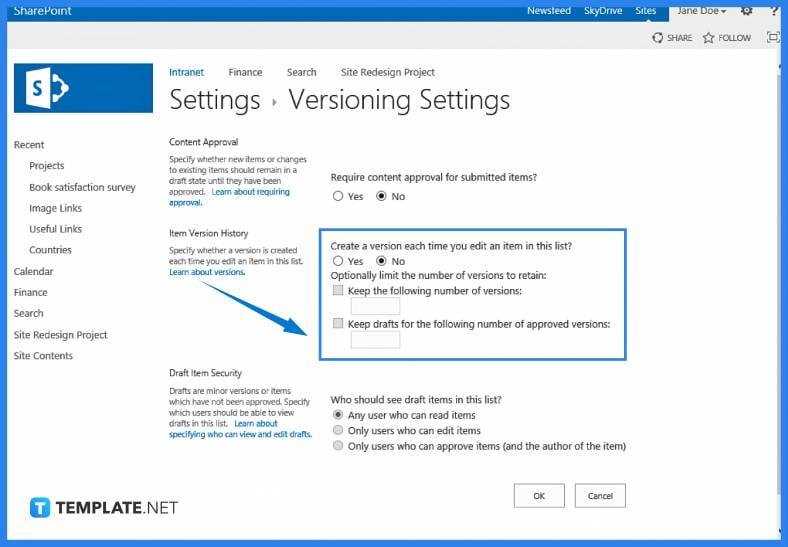
Click the Versioning Settings link that can be found on the Settings Page of your program (either Library Settings or List Settings, depending on which you’re using). The page for configuring Versioning will then appear on your screen. -
Step 2: Choose the radio option next to Require Content Approval for Submitted Items.
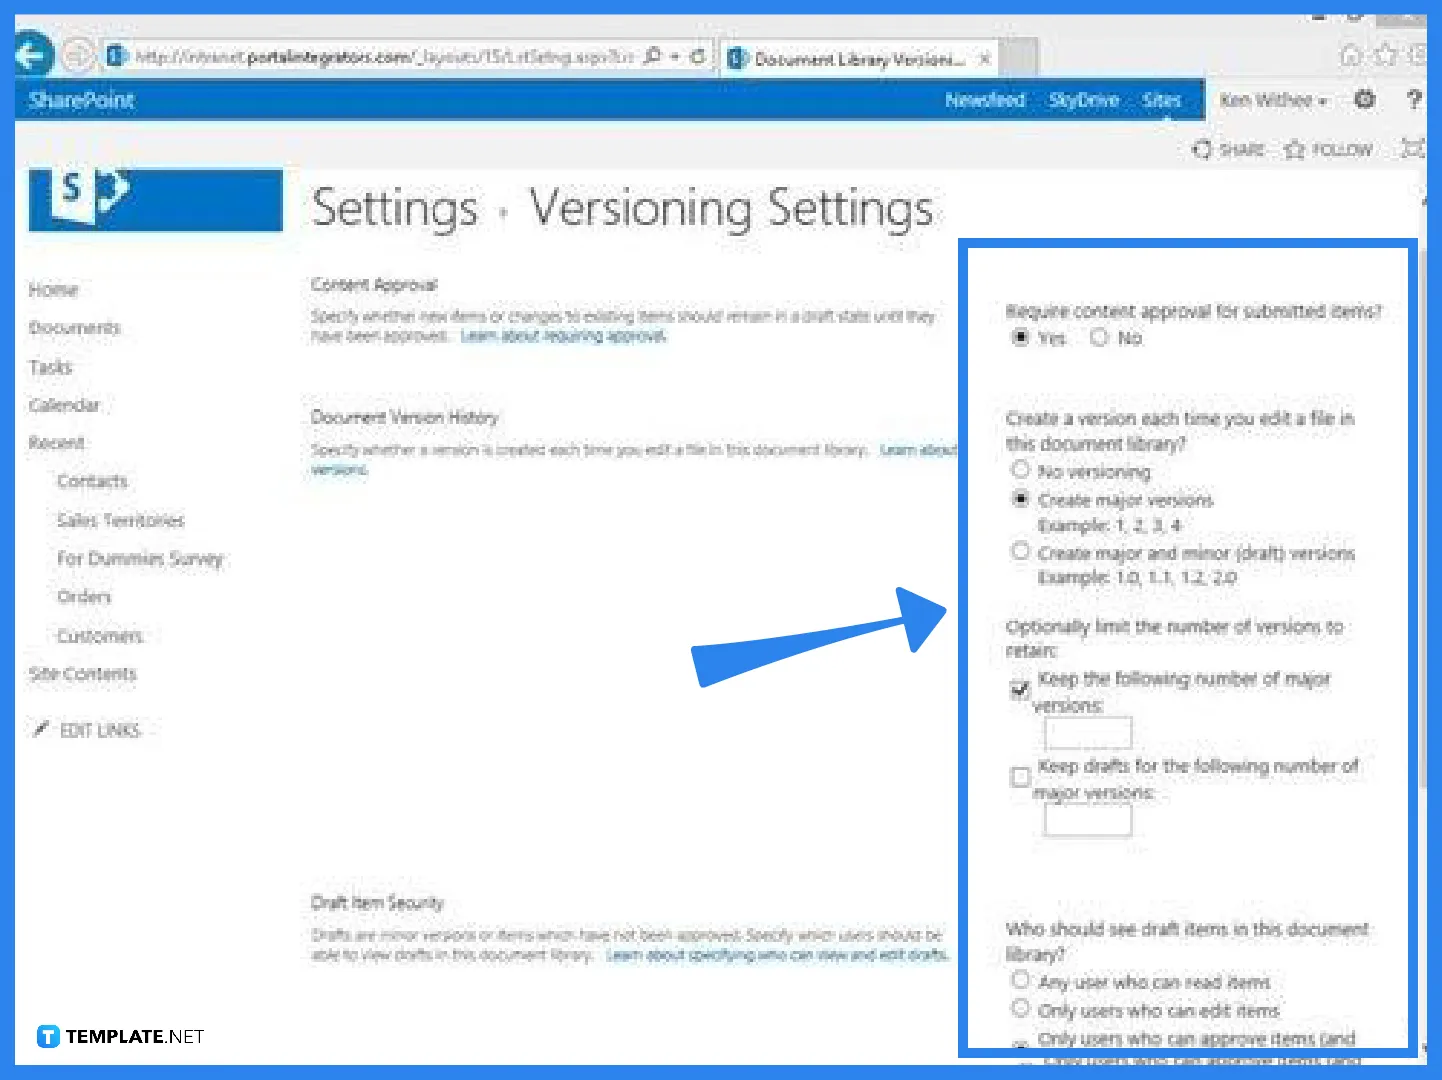
In library-based programs, you can preserve versions and check out documents. Once you select Yes to demand content approval, the options below Who Should See Draft Items in This Document Library become available. You will need to choose whether or not readers and editors can view drafts or whether or not only authors and approvers can do so. -
Step 3: Make sure the Document Version History section’s settings are correct.
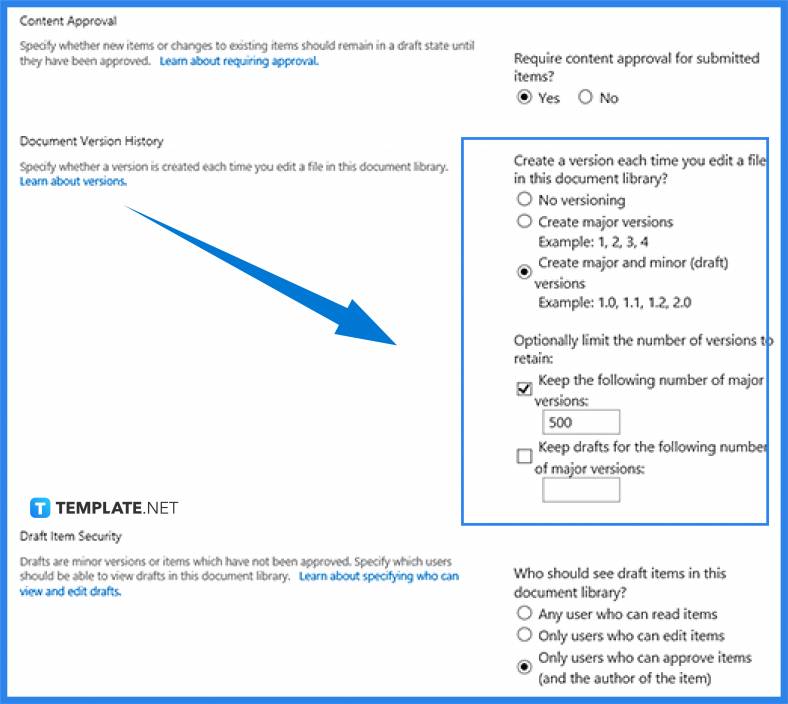
Versions can be specified without enabling content approval. When you publish a document in SharePoint, a major version is produced, and a minor version is produced when you save a document. Choose from None, Major, or Major and Minor to specify the level of detail you desire for versioning. -
Step 4: Select Draft Item Security by clicking one of the choices there.
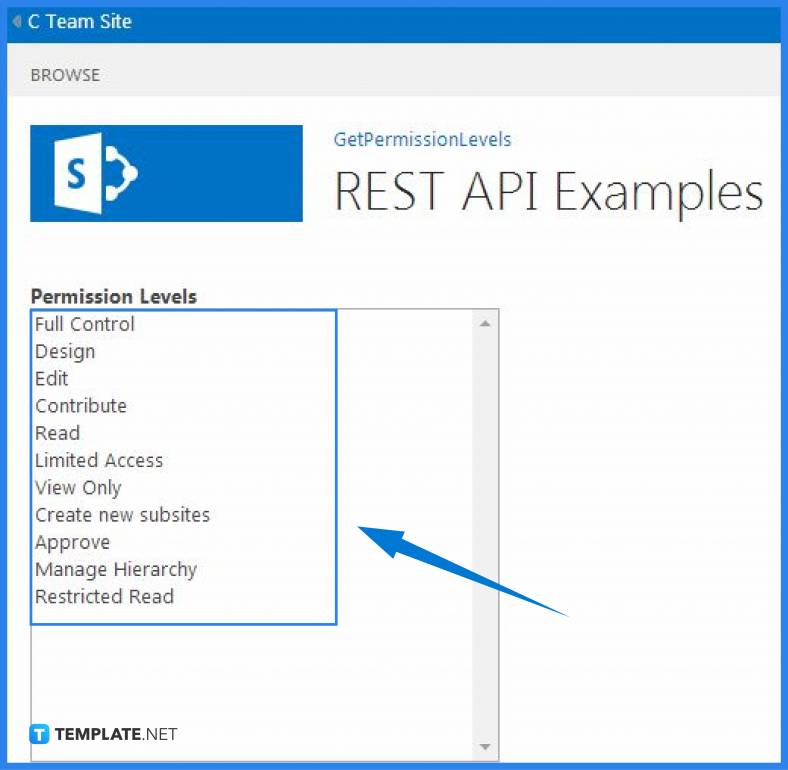
Read, Edit, and Approve, which are the three types of security that are referred to by draft item security, map to the Visitors, Members, and Approvers groups in SharePoint. -
Step 5: Require Check Out section.
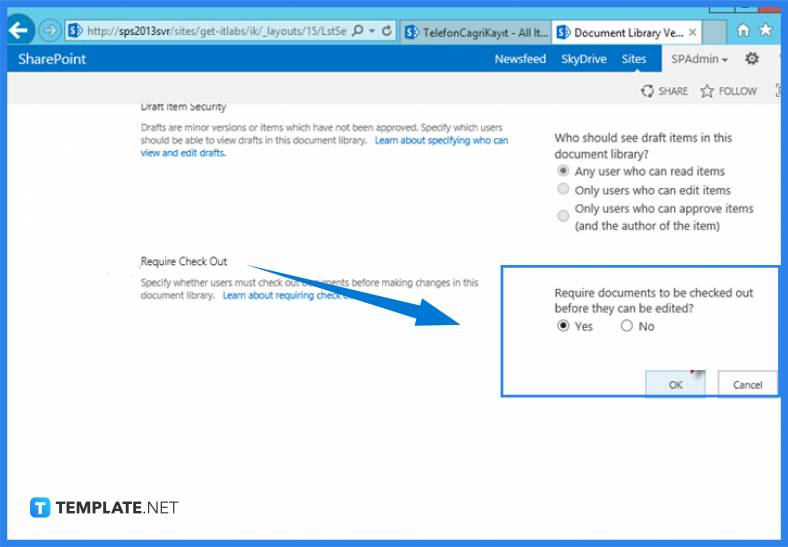
In the area labeled “Require Check Out,” select a check-out method to use. To save your changes, click the OK button. You are taken back to the page that you were on when you first entered the Library or List Settings. It is necessary to obtain authorization before making any changes to or creating new objects in, the SharePoint app (unless you disable content approval later).
FAQs
How can I give a SharePoint content my approval?
By selecting the desired item or items, choosing Approve/Reject from the command bar, and then choosing Approved or Rejected under the Approve/Reject options for Approval Status, you can approve a piece of information (you may also enter a comment about the approval description in the comment section).
In SharePoint, how can I disable content approval?
Open the SharePoint Online document library, then navigate to the Settings icon, followed by the Library options, and finally click on Versioning settings under General Settings to disable content approval.
How does content approval work?
A workflow for content approval depicts the review process that content goes through from conception to release.
What happens if content approval is active in SharePoint?
If content approval is enabled in SharePoint, users who add an item to the app are informed in the item properties pane that the item needs content approval.
If content approval is active, what happens when a user adds an item in SharePoint?
When an item is added, the app view shows it as Pending until it is approved.

