How to Convert Microsoft Visio Object to JPEG
Microsoft Visio can create functional yet creative flowcharts, diagrams, and even floor plans. You can also collaborate with friends to check and edit templates wherever you are by installing Microsoft Visio or Microsoft 365 on your computer.

How to Convert Microsoft Visio Object to JPEG
Not everyone in your team has Microsoft Visio installed on their computers but you can still show them your project by converting it to JPEG. Here are simple steps to help you with that:
-
Step 1: Create Object

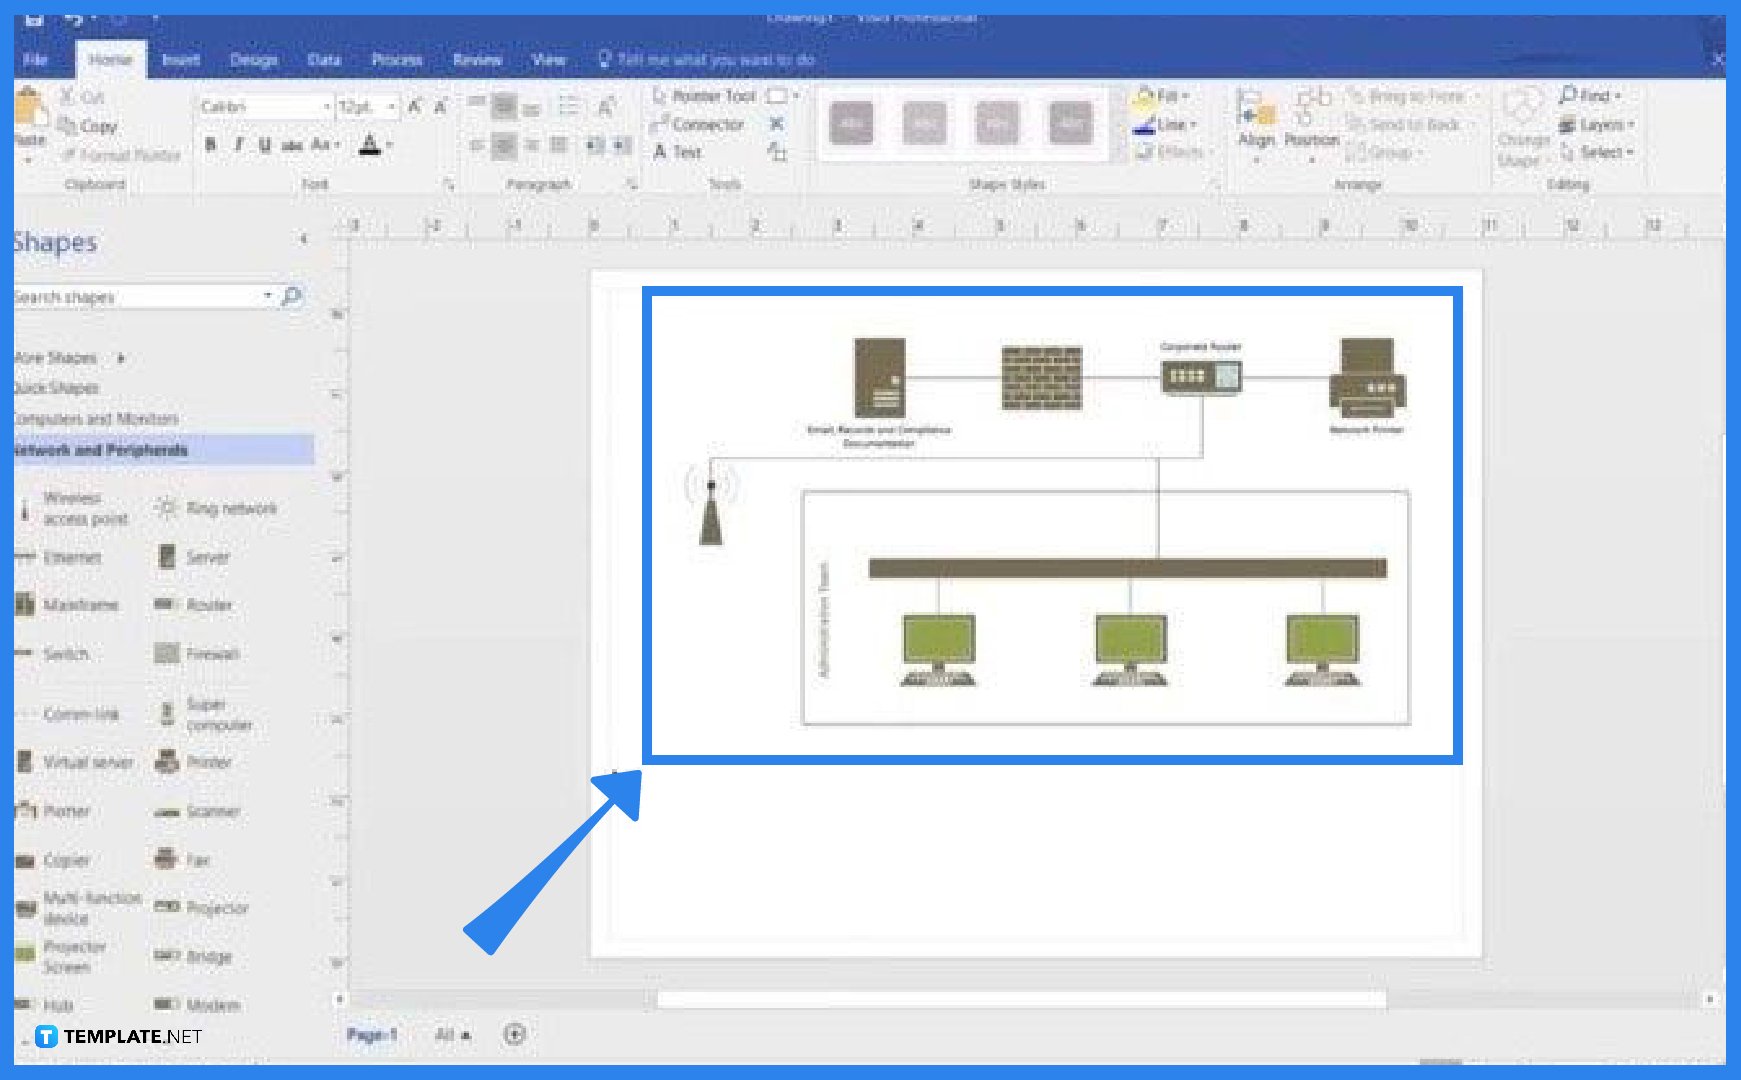
You can make a diagram, a flowchart, or a floor plan and change it to an image for whatever purpose you may use it. But before converting an object to JPEG, you need to make a project in Microsoft Visio first. You can do this through the online version with a one-month free trial, although you can only access limited features, or through an installed software if you have a Microsoft account and a licensed subscription. -
Step 2: Save File Location
To start converting your Microsoft Visio object, click “File” in the upper right corner then click “Save As.” Afterward, you will see options where you can save your exported file. This step is basically choosing a location on your PC where you can easily locate your file later on.
-
Step 3: Choose File Format
After choosing your file location, a window will pop up on your screen where you can see the folder it will be located in. Here, you can edit the file name and select the file format you want your Microsoft Visio object to be. In this case, look for “JPEG File Interchange Format (*jpg),” click that then press “Enter” or simply save.
-
Step 4: Customize JPEG Options

Once you click “Save,” a JPG Output Options window will pop up. This is where you can make a few more edits to your image such as the background, color format, resolution, and quality; when changing the quality, remember that the smaller the number, the smaller the file size. After going through these options, you can now click “OK” and check your image in the location where you saved it.
FAQs
How to make JPEG file size larger?
On the JPG Output Options window, look for “Quality” located on the upper right side and change the percentage number to a higher number – the higher the number, the larger the size.
Where can I find the exported JPEG file?
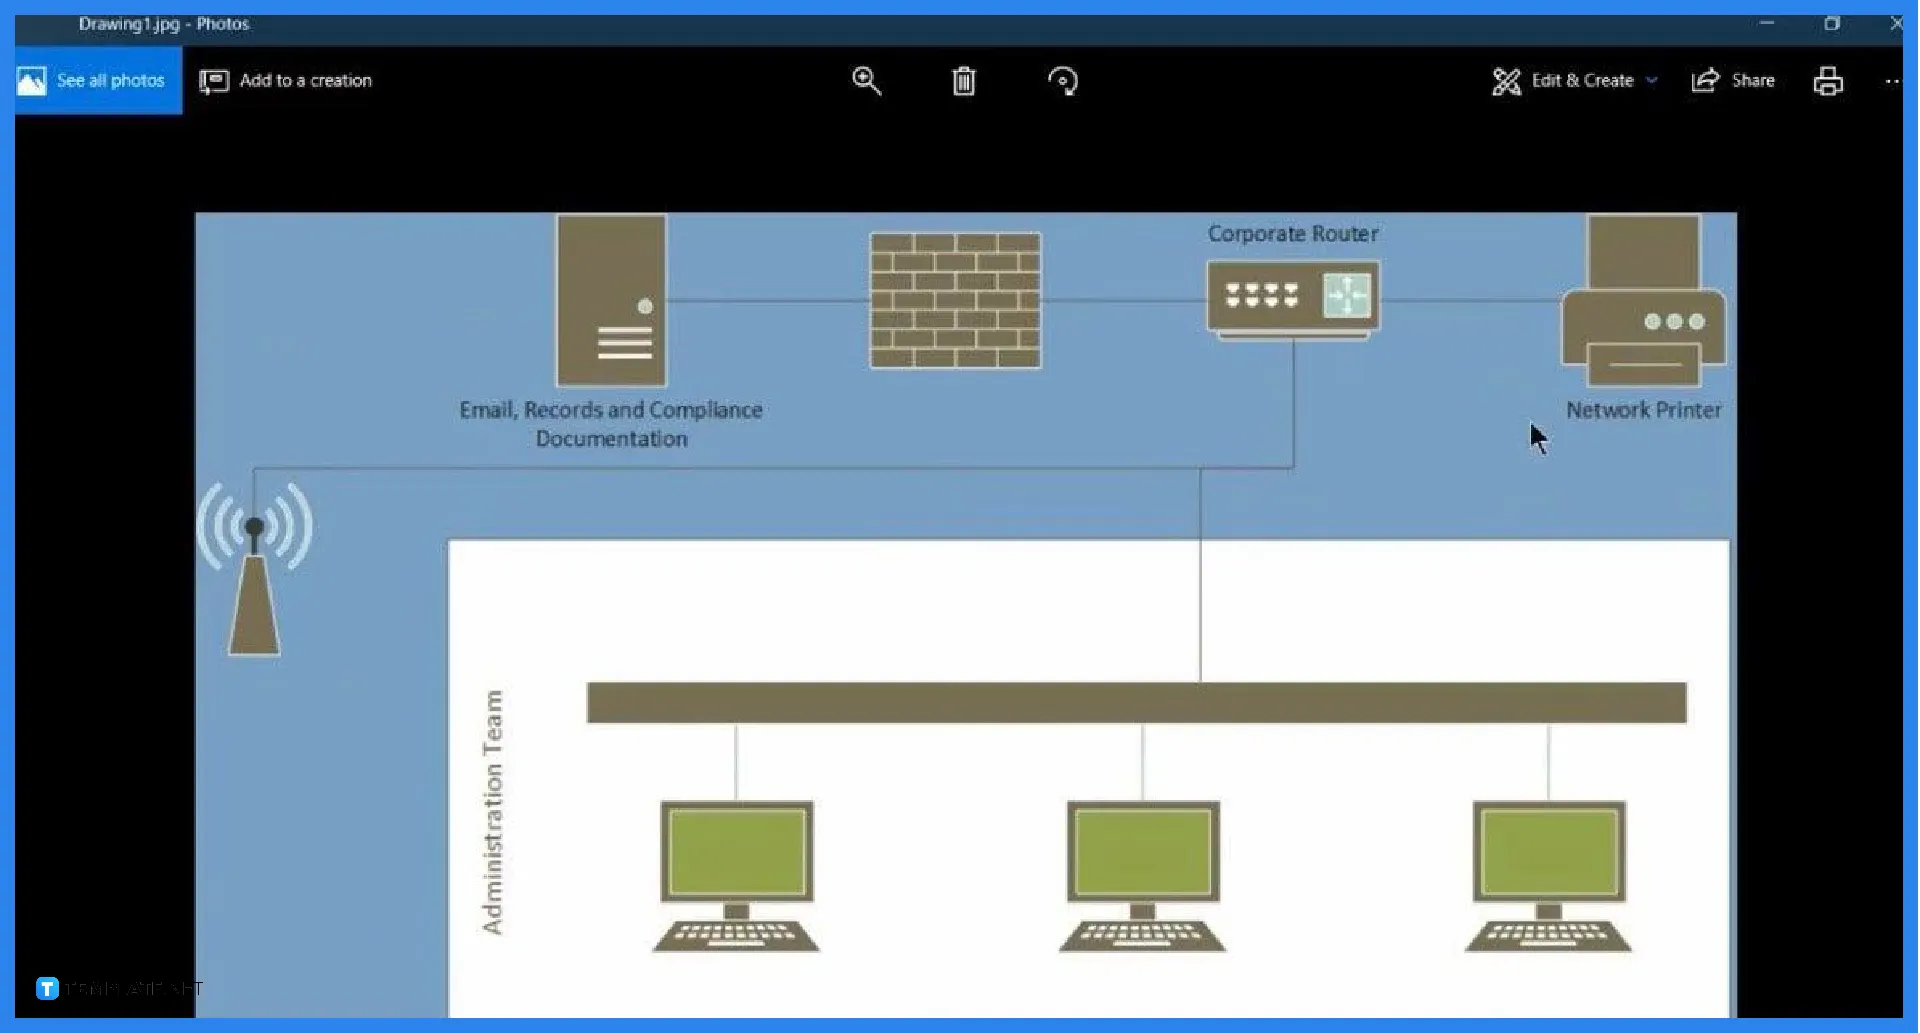
You can find the exported JPEG file in the folder or location where you saved it; keeping in mind what your file location is would help you find your image more quickly.
How difficult is it to convert a Microsoft Visio object to JPEG?
Converting an object in Visio is relatively easy: just go to “File,” click “Save As,” select the file location, edit the file name and file format, make necessary adjustments to the image output, then click “OK” and you’re done.
How to transform a converted Microsoft Visio object?
You can transform an object while in the process of converting it to an image: on the JPG Output Options window, click the box under “Transformation” to flip the image horizontally or vertically then click “OK.”

