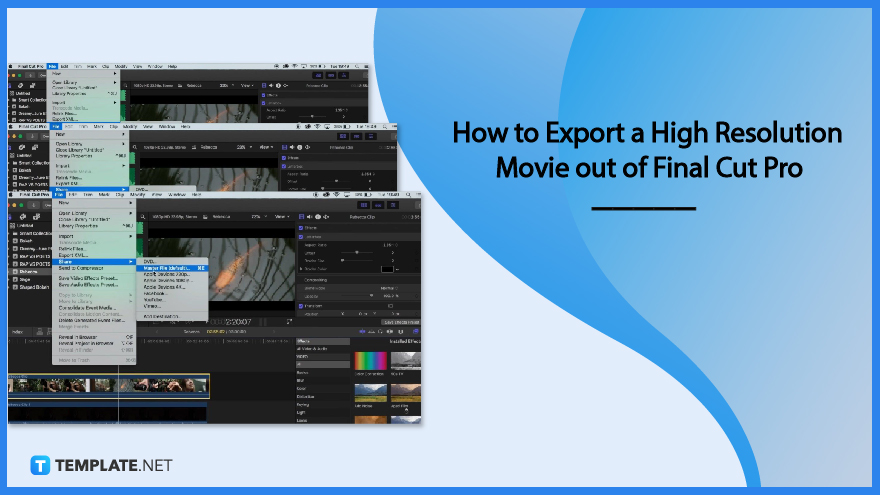
How to Export a High-Resolution Movie Out of Final Cut Pro
Apple’s Final Cut Pro is one of the most commonly used video editing software for film editors, helping them to ensure that their finalized video is of the highest quality. The completed video or project can be used as their source media for the final stages of their professional broadcast or distribution.

How to Export a High-Resolution Movie out of Final Cut Pro
Final Cut Pro provides features and methods to make sure that editors can export their films or videos at the highest level of quality in an efficient manner. Final Cut Pro also enables users to continue working within the app while their file is being transcoded.
-
Step 1: Select a Project You Want to Export
After opening the Final Cut Pro, select one or more projects or clips in the browser. You can also choose to select ranges in one or more clips in your browser or a range in a project in your Timeline.
-
Step 2: Click the File tab

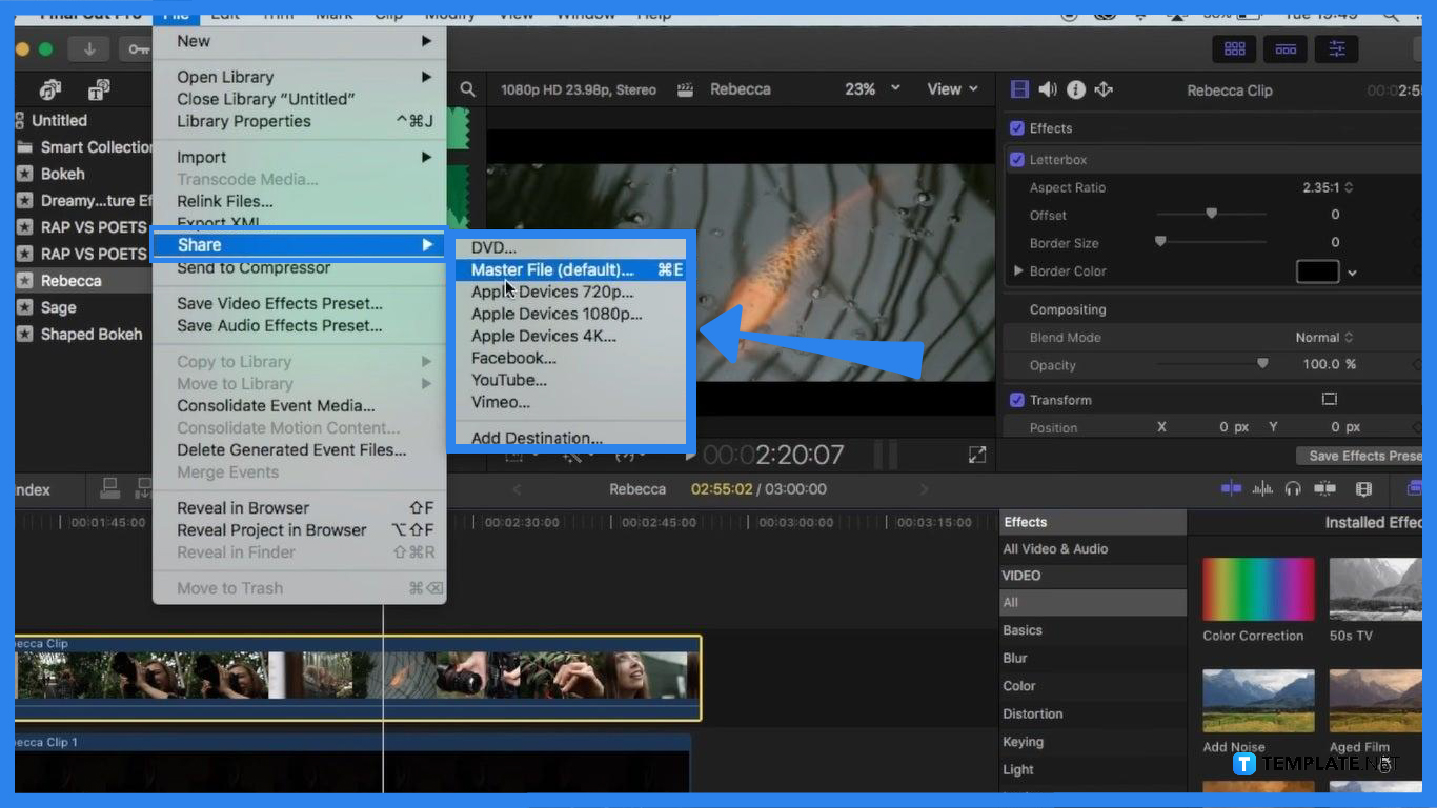
At the top-left corner of your Final Cut Pro window, click on the File tab. A drop-down will be displayed which contains more options where you can select the Share option, then click Export File. -
Step 3: Choose the Export Settings You Want to Use
A share window will appear on your screen where you can adjust the Export Settings according to your requirements. You can change the settings by selecting the currently displayed settings or by changing them to your preferred codec.
-
Step 4: Select the Final File Destination
To choose the final destination for your file, simply select the button at the bottom-right corner of the window. You can decide to save the file to your Desktop, external drive, memory stick, or other external storage.
FAQs
What Export File destinations can I use?
The Export File share destinations you can use are the Apple ProPes, AVC-Intra Class 50/100/200, DV, DVCPRO HD, H.264, HDV, MPEG IMX (D-10), MXF, Uncompressed 10-bit, Uncompressed 8-bit, and XDCAM HD/EX/HD422.
What is a Compressor in Final Cut Pro?
A Compressor is a professional transcoding application that is made to work directly with the Final Cut Pro application which enables users to create a highly customized export setting and can also be used for other various purposes like frame resizing and retiming controls to modify output files.
How can I export still images with Final Cut Pro?
You can start by positioning the play head in the video frame you want to export as a still image, clicking the Share button in your toolbar, clicking the Save Current Frame, clicking the Settings button to confirm export settings, then clicking the Next button.
How can I export MXF files with Final Cut Pro?
To export MXF files, select one or more projects or clips in your browser, choose the Share button located in the top-right of your window, click the Export File option, click the Settings, choose the MXF option, and choose a video codec for your file, click the Roles option at the top of your window to make further adjustments, then click the Next button.

