How to Configure Audio in Apple Final Cut Pro
If you want to make your video’s music a hit, then learn how to configure audio in Apple Final Cut Pro. That way, your video’s audio will hit a chord with your viewers.

How to Configure Audio in Apple Final Cut Pro
Start by opening Apple Final Cut Pro and adding your audio. This will be placed on a default channel, but you can configure it with these easy-to-follow steps.
-
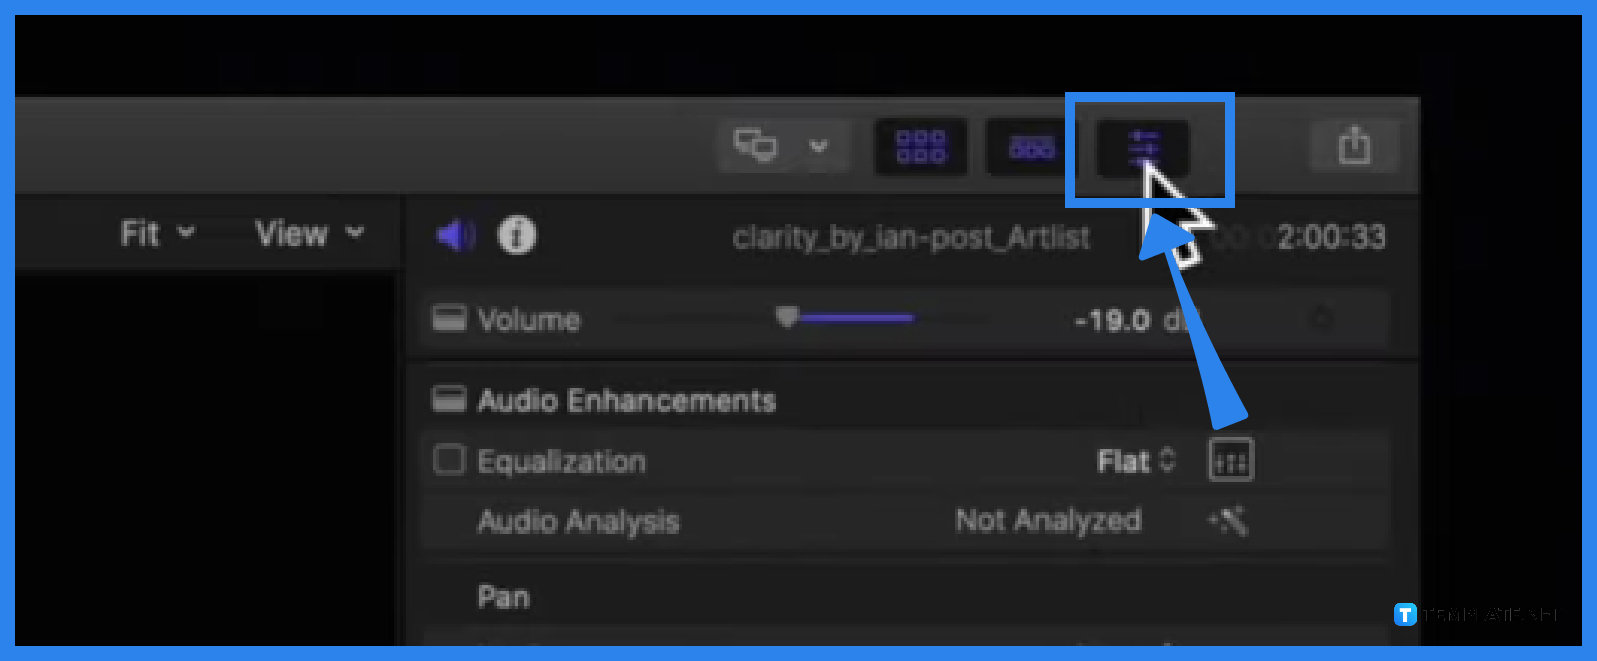
Step 1: Select Audio and Click Audio Inspector Icon

Select the audio you wish to configure and then go to the side panel and click on the Audio Inspector Icon. The icon appears like a megaphone symbol.
-
Step 2: Go to Audio Configuration
Move your cursor to the Audio Configuration panel, which is depicted as a bunch of rectangles with green waves that display your audio.
-
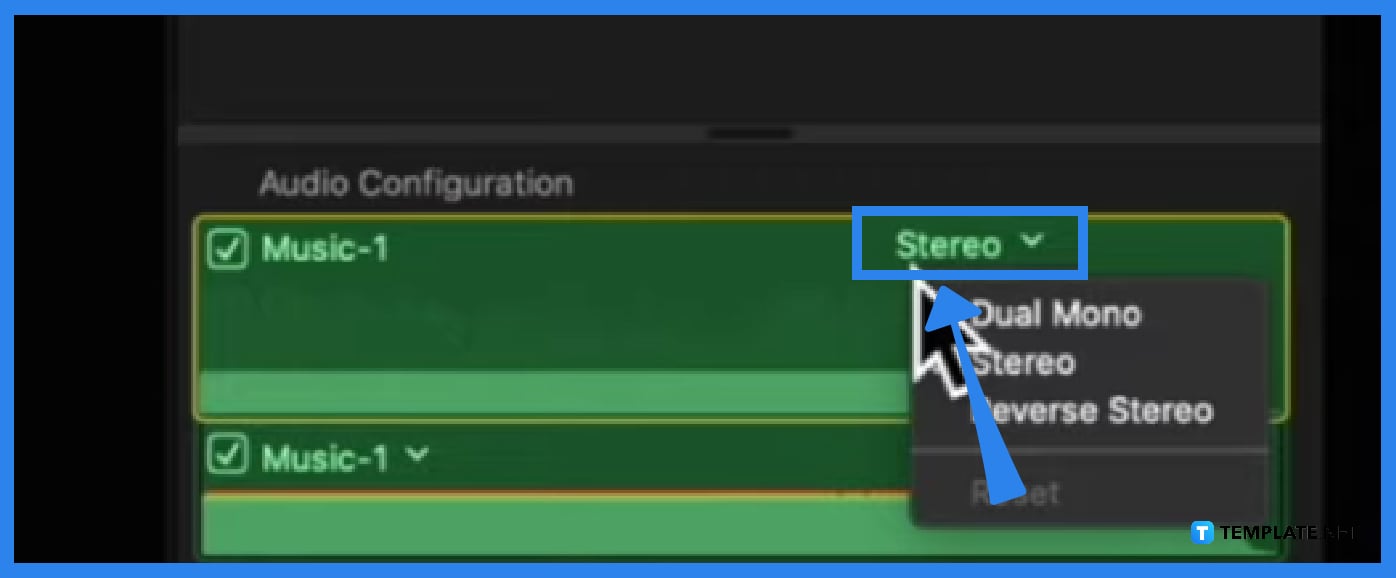
Step 3: Click on Pop-up Menu and choose Options

Over each of the tracks displayed, you can choose three options: Dual Mono, Stereo, and Reverse Stereo. Choose the preferences that suit your needs. -
Step 4: Configure other Audios
Do the same for the other audio tracks you wish to configure. Then do some Audio skimming to see if they sound good to you and you are all set!
FAQs
What is audio skimming?
Audio skimming is the act of listening to the sounds of an audio clip in a manner based on the user’s preferences similar to skimming a book.
What is the shortcut key to turning on and off the audio skimming in Apple Final Cut Pro?
The shortcut key for turning the audio skimming on and off in Apple Final Cut Pro is Shift + S.
Can I configure several audio tracks at the same time in Apple Final Cut Pro?
No, you can only configure one audio track at a time in Apple Final Cut Pro.

