How to Add Shape Mask in Apple Final Cut Pro
Selectively applying an effect is useful for making wonderful visuals. To find out how to add a shape mask in Apple Final Cut Pro so you can achieve that visual style.

How to Add Shape Mask in Apple Final Cut Pro
To get started, add an effect to your video in Apple Final Cut Pro. Then follow these three steps to get started.
-
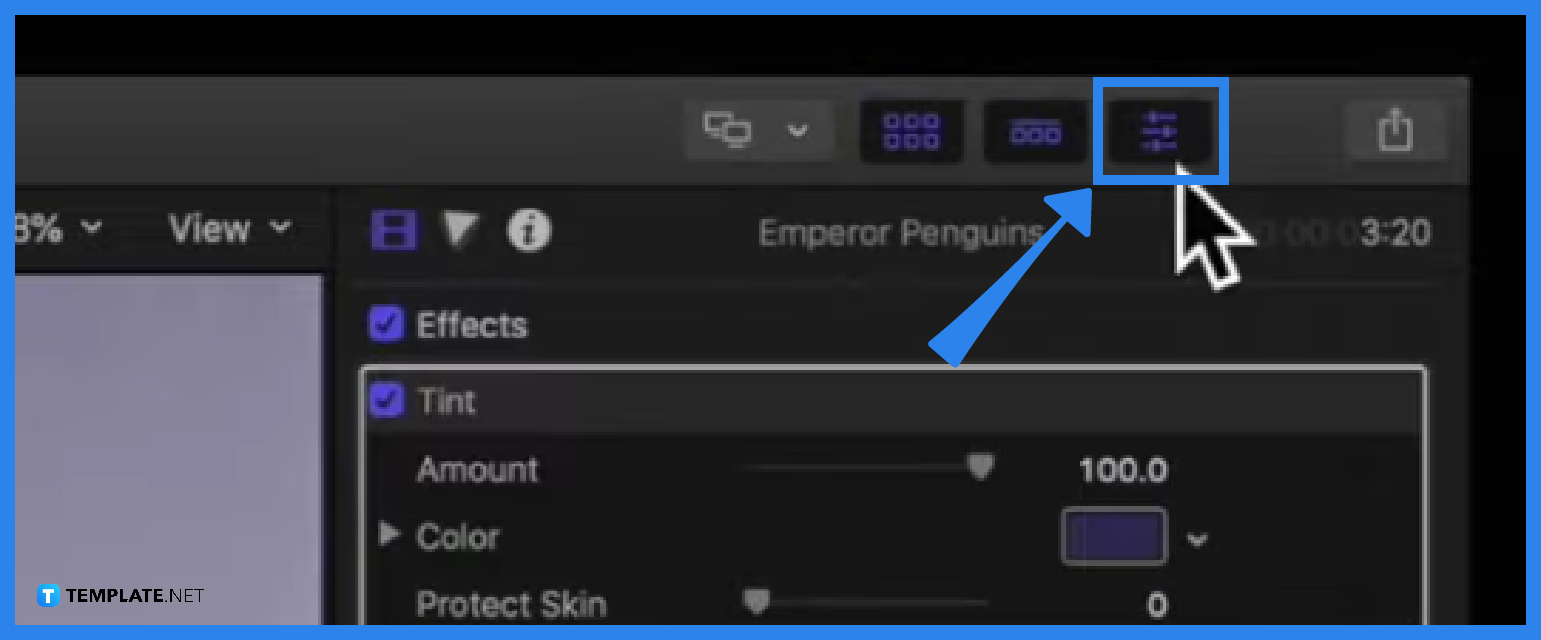
Step 1: Go to the Inspector Tab

Navigate your cursor to the top right of the screen and click on the Inspector icon to show the tab. -
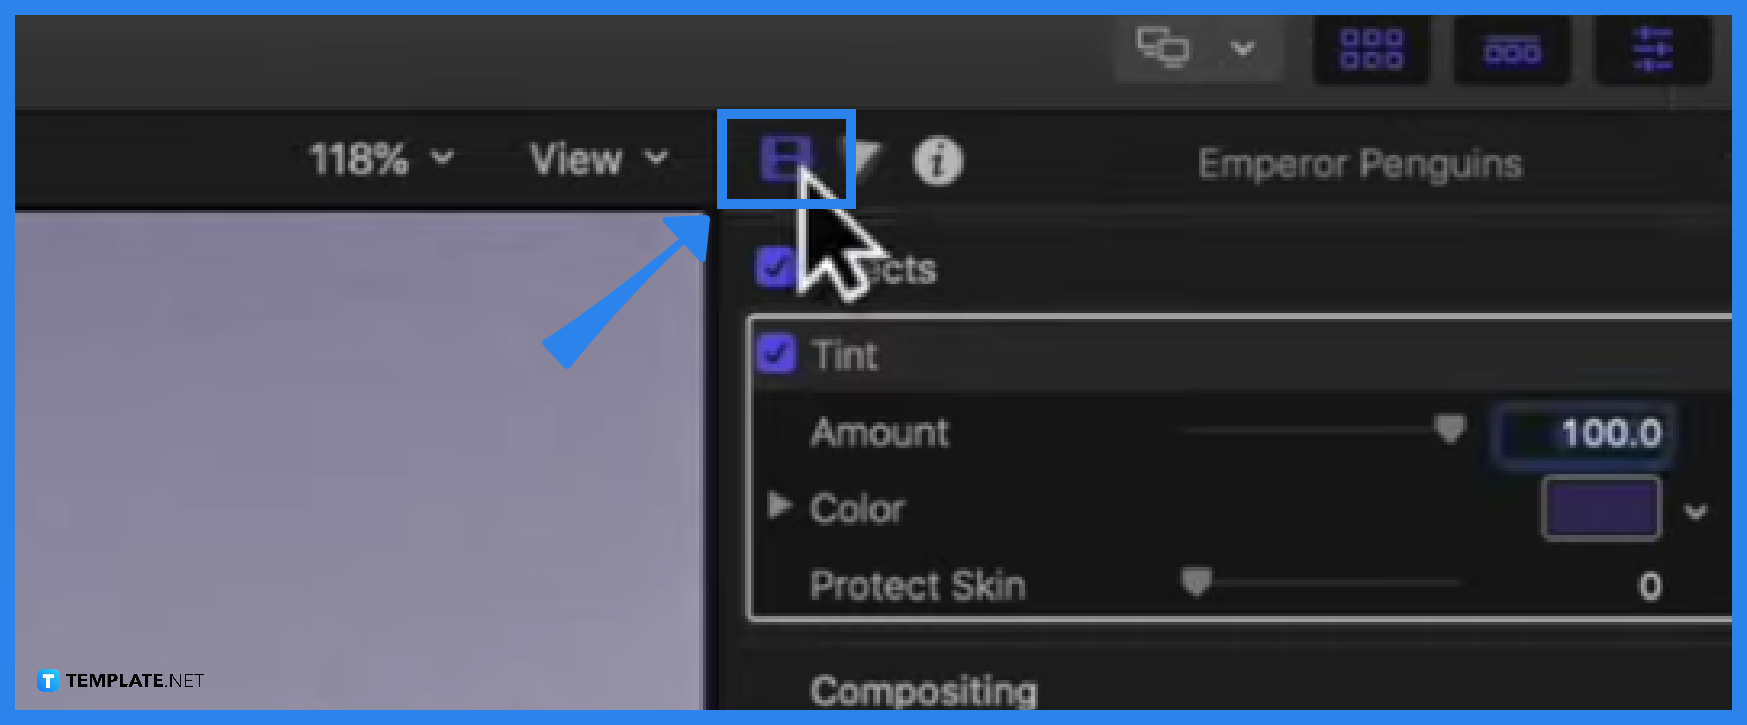
Step 2: Click on the Video Inspector Icon

Next click on the Video Inspector icon, that is where you can locate the icon for applying a Shape Mask.
-
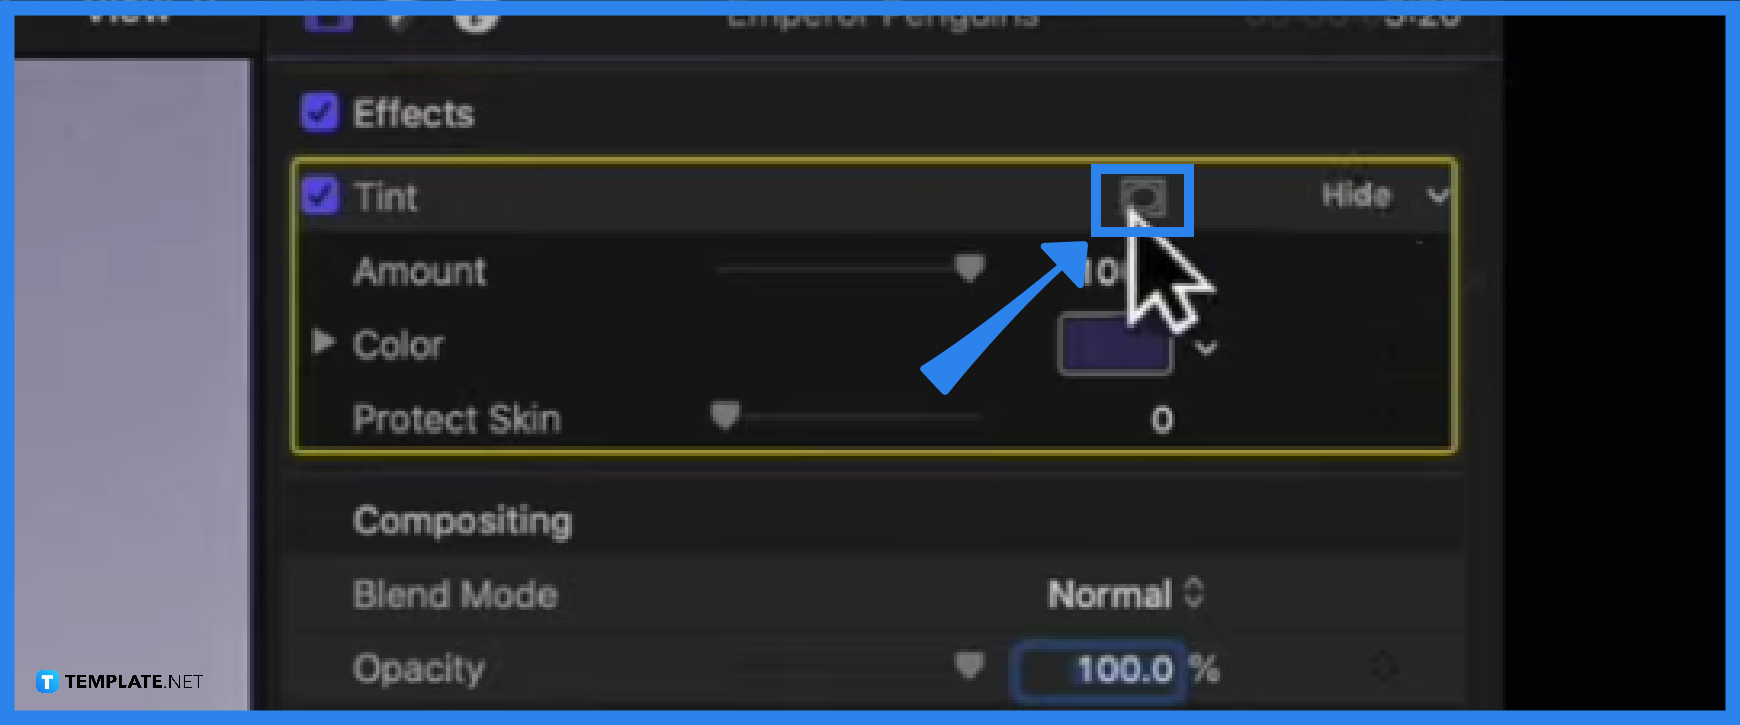
Step 3: Click on Apply Effects Mask Icon

On the Video Inspector icon, click on the Apply Effects Mask icon. Two options will then appear: Add Shape Mask and Add Color Mask. -
Step 4: Choose Add Shape Mask
Click on Add Shape Mask and the changes should reflect on the preview video. And that is how you add a shape mask in Apple Final Cut Pro.
FAQs
What is the reason why a shape mask is added to Apple Final Cut Pro?
One reason why a shape mask is added is to target a specific area in the video in Apple Final Cut Pro.
Can you change the form of the Shape Mask to target a specific point in the video?
Yes, you have the option to target a specific spot by changing the shape of the Shape Mask.
Can I put more than one Shape Mask in Apple Final Cut Pro?
Yes, you can add more than one Shape Mask in Apple Final Cut Pr, as long as you have the space for it.

